Managing Webhooks
To manage webhooks on PolyAPI, head to this path on your instance:
/canopy/polyui/login
For example, on na1, the path would be:
https://na1.polyapi.io/canopy/polyui/login
Enter your api key to login and let’s begin!
Note
You must have the “Manage Webhooks” permission to manage webhooks.
Please contact your tenant administrator or support@polyapi.io if you need these permissions added!
Create a Webhook
To create a Webhook, click “Webhooks” in the sidebar. Then click “+ Create”.
For the “Name”, let’s enter “TestWebhook”.
For the “Context”, let’s enter “test”.
Leave “Description” blank.
For “Visibility”, select “Environment”.
For “Event Payload”, let’s enter {"n": 3}.
Leave “Event Payload Type Schema” blank.
For “Method”, select “POST”.
Leave “Slug” and “Subpath” blank.
Leave “Require Poly API Key” as “false”. This means that the webhook will not require a PolyAPI key to be sent with the request.
For “Response”, let’s enter {"answer": 6}.
Leave “Response Status Code” blank to use the default of 200.
Leave all the “XML parser options” as “false”. The XML parser is used when the input for the webhook needs to be XML. For this webhook, we will use normal JSON so we won’t need the XML parser.
Finally, scroll back up to the top of the page and click “Save” to create the webhook!
Updating / Deleting a Webhook
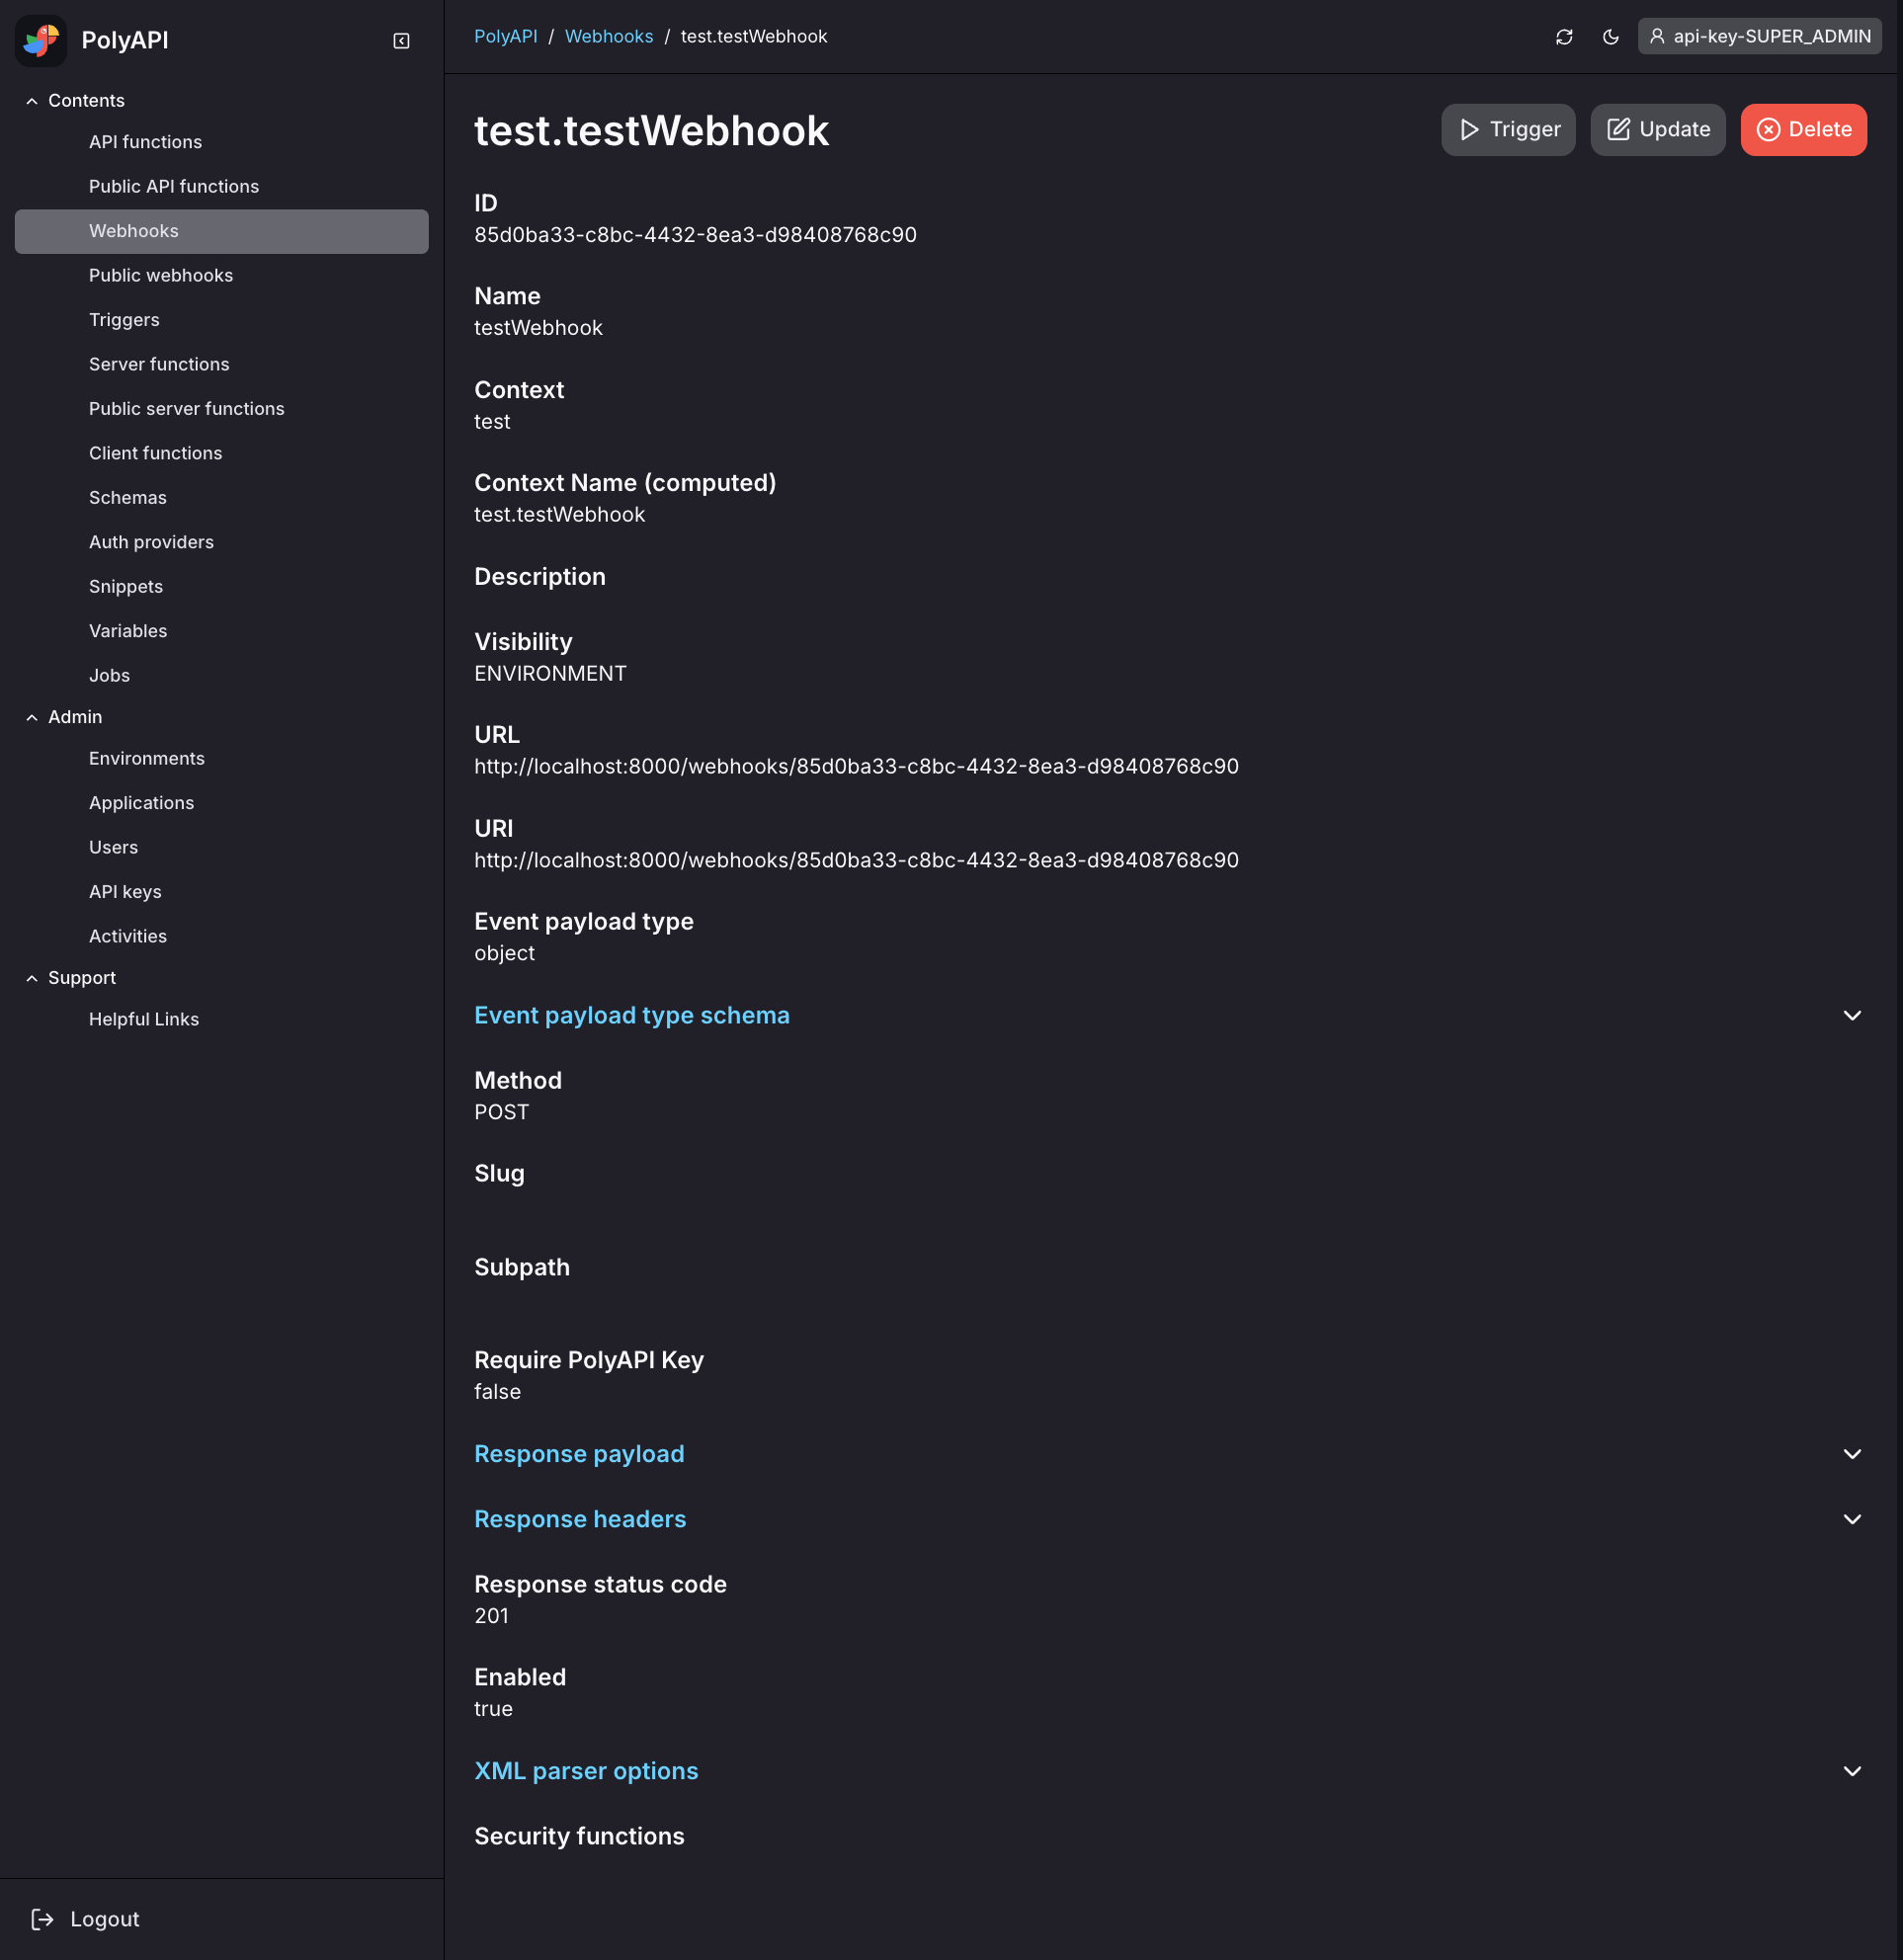
After clicking save, you should see your webhook’s detail page like this:

Click “Update” to update your webhook or “Delete” to delete it.
Conclusion
That’s it! You’ve now created your first webhook on PolyAPI!
But our webhook doesn’t really do anything with the events it receives yet.
Additionally anyone who knows about our webhook can send it events. Follow the steps outlined in Webhook Security Functions to secure access to your webhook.
Or head over to Managing Triggers to setup which server function we want to route the webhook events to.