Using the Copilot Extension
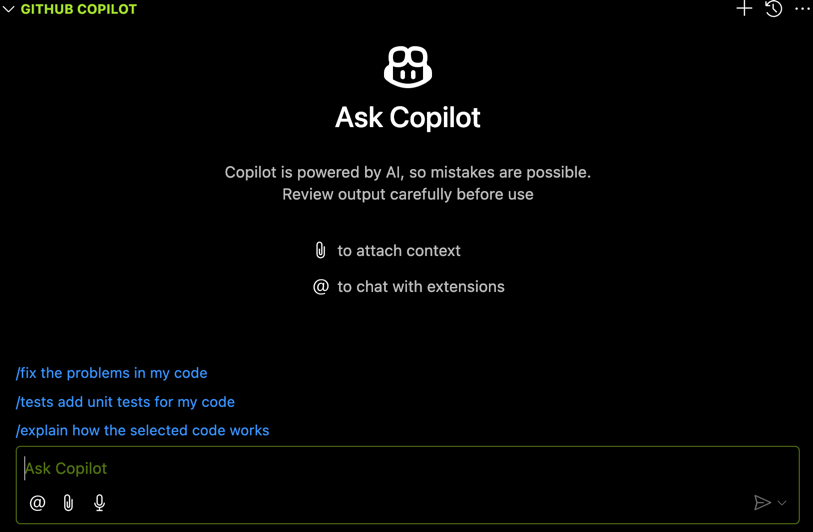
Open up VSCode and click on the GitHub Copilot Chat icon (two square speech bubbles) in the sidebar.
You should see a chat interface like this:

Here you can use Copilot without any extensions.
Enable PolyAPI Extension
To enable the PolyAPI Copilot Extension, simply @ mention polyapi in the chat.

Before you can interact with our PolyAPI servers, you will need to set your instance (NA1, EU1, etc.) and PolyAPI key using the following command in the chat.
@polyapi /setKey <instance> <your-api-key-here>
Your instance will be one of the following:
NA1NA2EU1

After clicking “Accept”, you should see a welcome message.

You can also change keys and/or instances at any time by using the same command. Doing so will prompt you to confirm the change.

Note
You may have different keys for different projects or environments.
Select the key that corresponds to the environment you are working in.
That’s it, you are now ready to chat with PolyAPI!
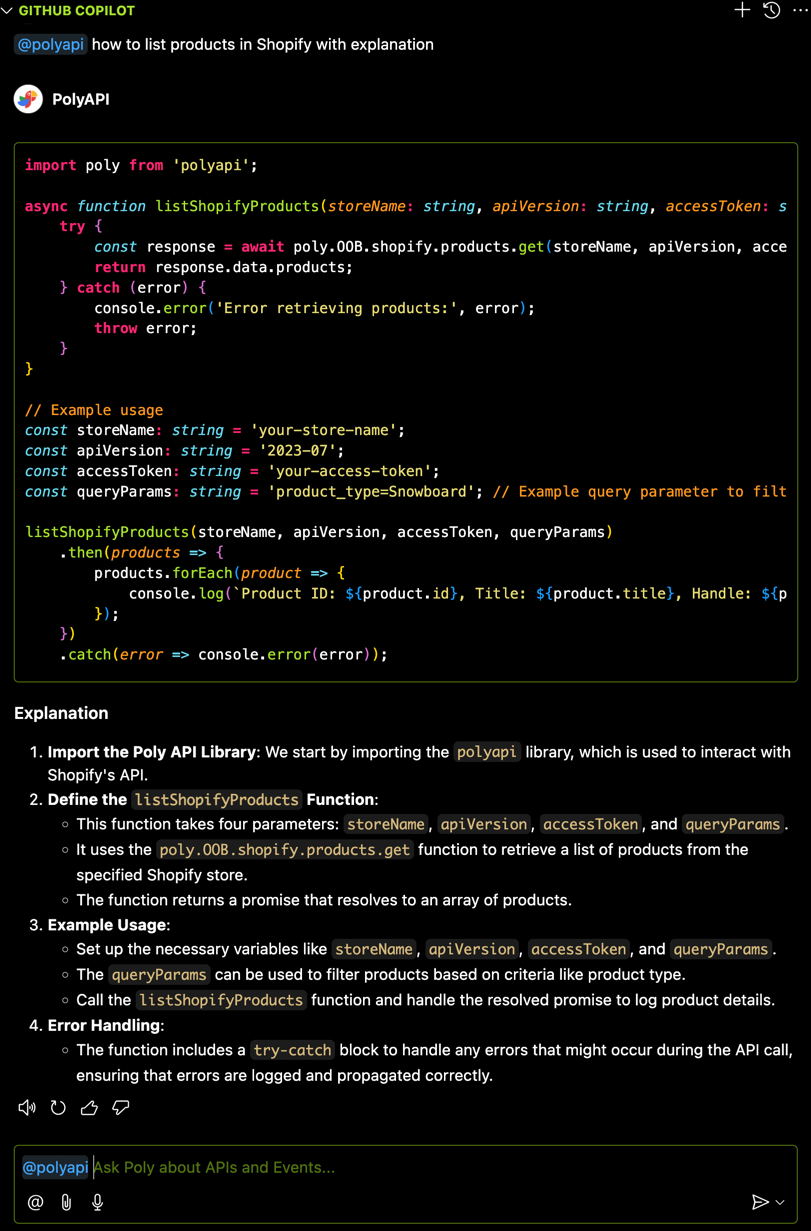
Example
Here is an example conversation using the PolyAPI Copilot Extension:

Conclusion
You’ve successfully setup and used the PolyAPI Copilot Extension in VSCode!
Now you can converse with PolyAPI directly in your IDE and get the integration code examples you need right when you need them.