Setting up Single Sign-On
PolyAPI supports single sign-on (SSO) using OpenID Connect for your tenant users using your preferred identity provider. Whether you use a public identity provider like Google, Okta, Microsoft, or even if you have your own private identity provider: PolyAPI supports them.
Once you’ve created your PolyAPI tenant and have logged into the PolyAPI application, you’ll be able to start setting up single sign-on and allow your users to log into Poly.
Setting up Single Sign-On
Add your org or tenant id to your PolyAPI tenant. This is the id used by your SSO Identity Provider. For example if your team uses Google Workspace, then this will be the domain of your orgs’ email address, ex.
polyapi.io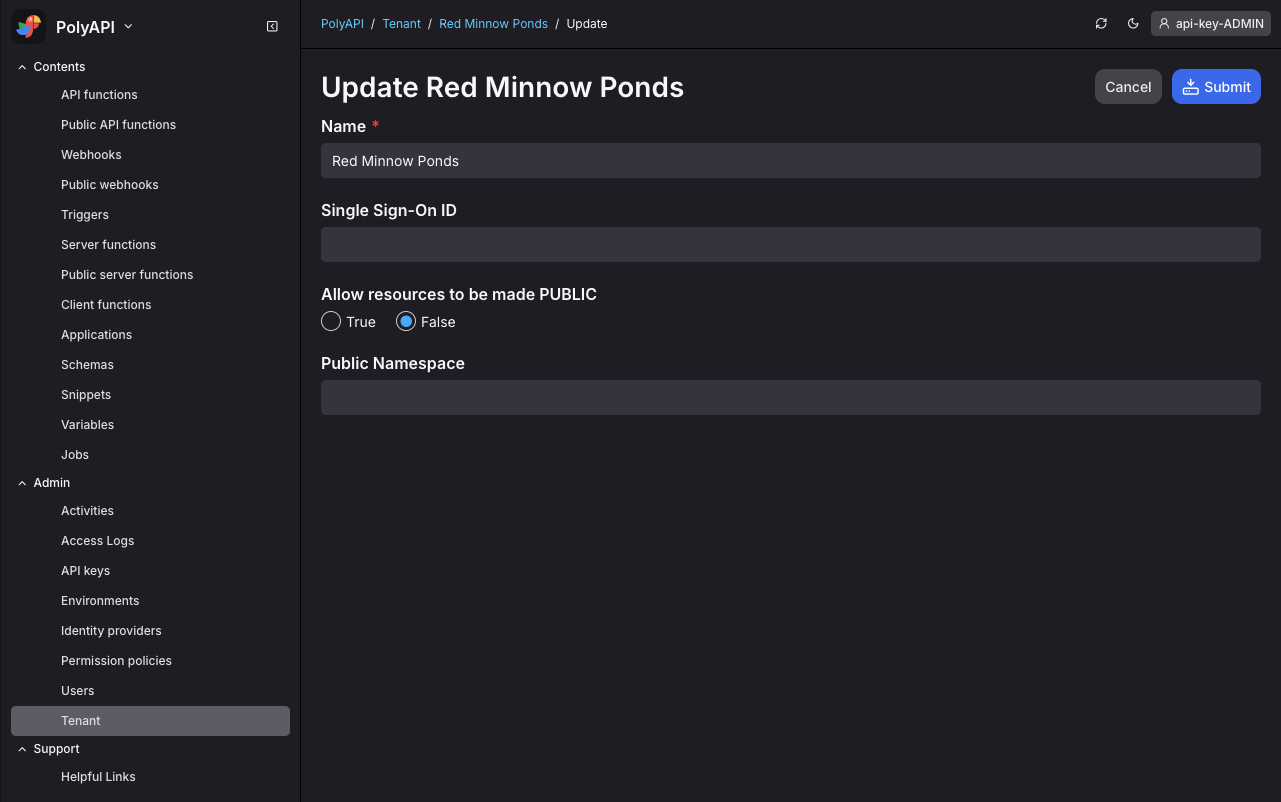
For each user on your team you wish to allow to SSO into Poly, create a User record in Poly and add their unique SSO ID to their profile. This is typically the id used as the
subclaim by your identity provider.
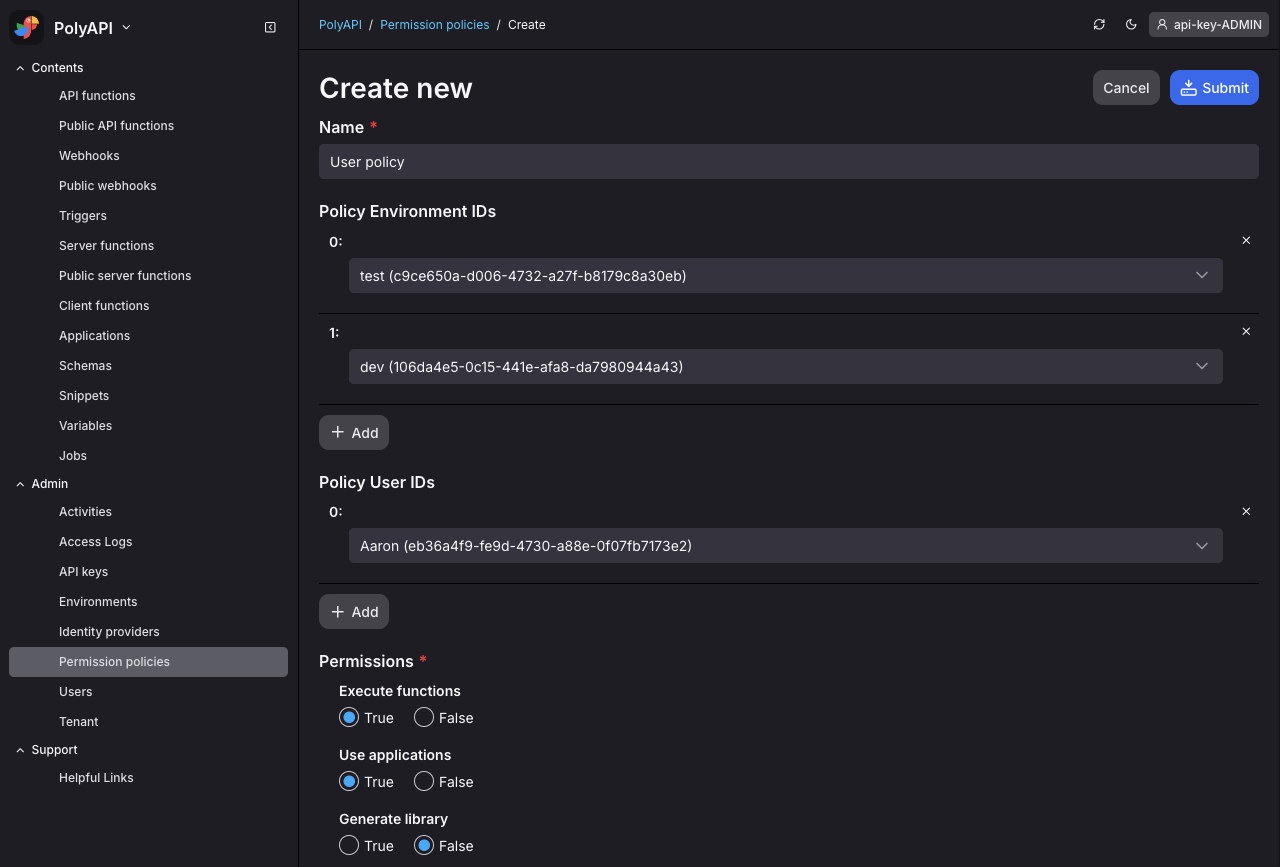
Configure one or more permission policies for your users which will grant them some set of permissions to one or more of your tenant environments.
Create a client application in your identity provider system. Your identity provider will assign your application a Client ID, and a Client Secret which you will need in the next step.
Register your identity provider in PolyAPI. Set the full url for your identity provider. For example if you’re using Google, then this would be
https://accounts.google.com. For providers like Okta, this will be your custom Okta domain which includes your custom subdomain.Enter the Client ID and Client Secret obtained in the previous step, and make sure you enable the identity provider.

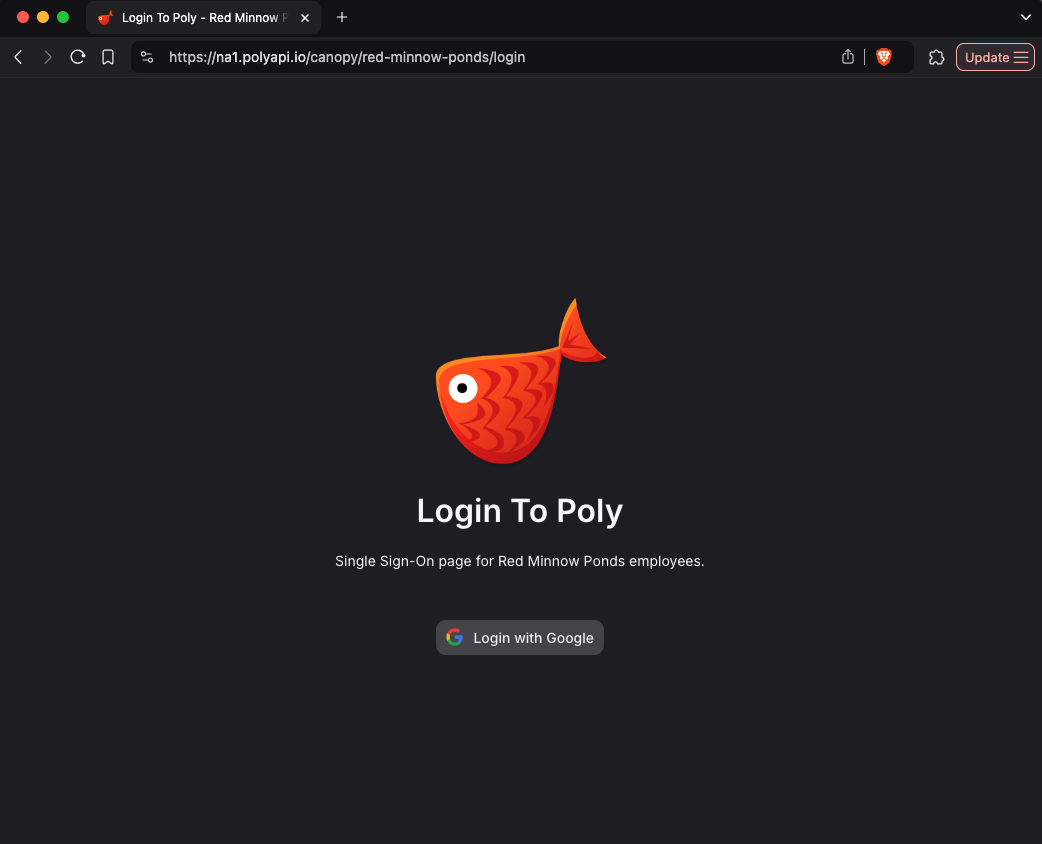
Create a public PolyAPI Application which your team can use to login to PolyAPI. We’ve provided a template application config below for you to copy, and customize. Be sure to update the subpath to one unique to your tenant that your team will recognize. Lastly make sure to set the id and name of your identity provider.
{
    "name": "Your Tenant Name",
    "subpath": "unique-subpath",
    "icon": "/canopy/PolyLogo.svg",
    "login": {
        "title": "Login To Poly",
        "logoSrc": "https://polyapi.io/wp-content/uploads/2024/07/polyapi-logo-color-2024.webp",
        "identityProviders": [
            {
                "id": "UUID of your identity provider",
                "name": "Google"
            }
        ],
        "loginToPoly": true,
        "allowPolyApiKey": false,
        "redirectTo": "/polyui/collections/api-functions"
    },
    "collections": []
}
Once your PolyAPI application is created you’ll need to return to your identity provider and finish configuring the client application. Most providers need some or all of the following data:
Valid Domain:
https://na1.polyapi.ioRedirect URL:
https://na1.polyapi.io/canopy/unique-subpath/auth/finish-oauthLogin URL:
https://na1.polyapi.io/canopy/unique-subpath/loginLogout URL:
https://na1.polyapi.io/canopy/unique-subpath/logoutNote that the URLs provided here are for our NA1 instance. Please replace
na1with your instance, ex.https://eu1.polyapi.ioorhttps://na2.polyapi.ioAt this point your team mates should be able to navigate to your canopy application:
https://na1.polyapi.io/canopy/unique-subpath/loginShare it with your team and have them bookmark this as their way of authenticating into PolyAPI.