Installing the Copilot Extension
The PolyAPI Copilot Extension is currently only available for VSCode and github.com, availability for other IDEs coming soon. Note that Copilot Extensions entered public beta on Sept. 9, 2024.
Learn more about Copilot Extensions
Getting the Extension
Let’s head over to GitHub Marketplace and install the PolyAPI Copilot Extension.
Sign in to your GitHub account if you haven’t already.
Click “Install” which will bring up a page like this:
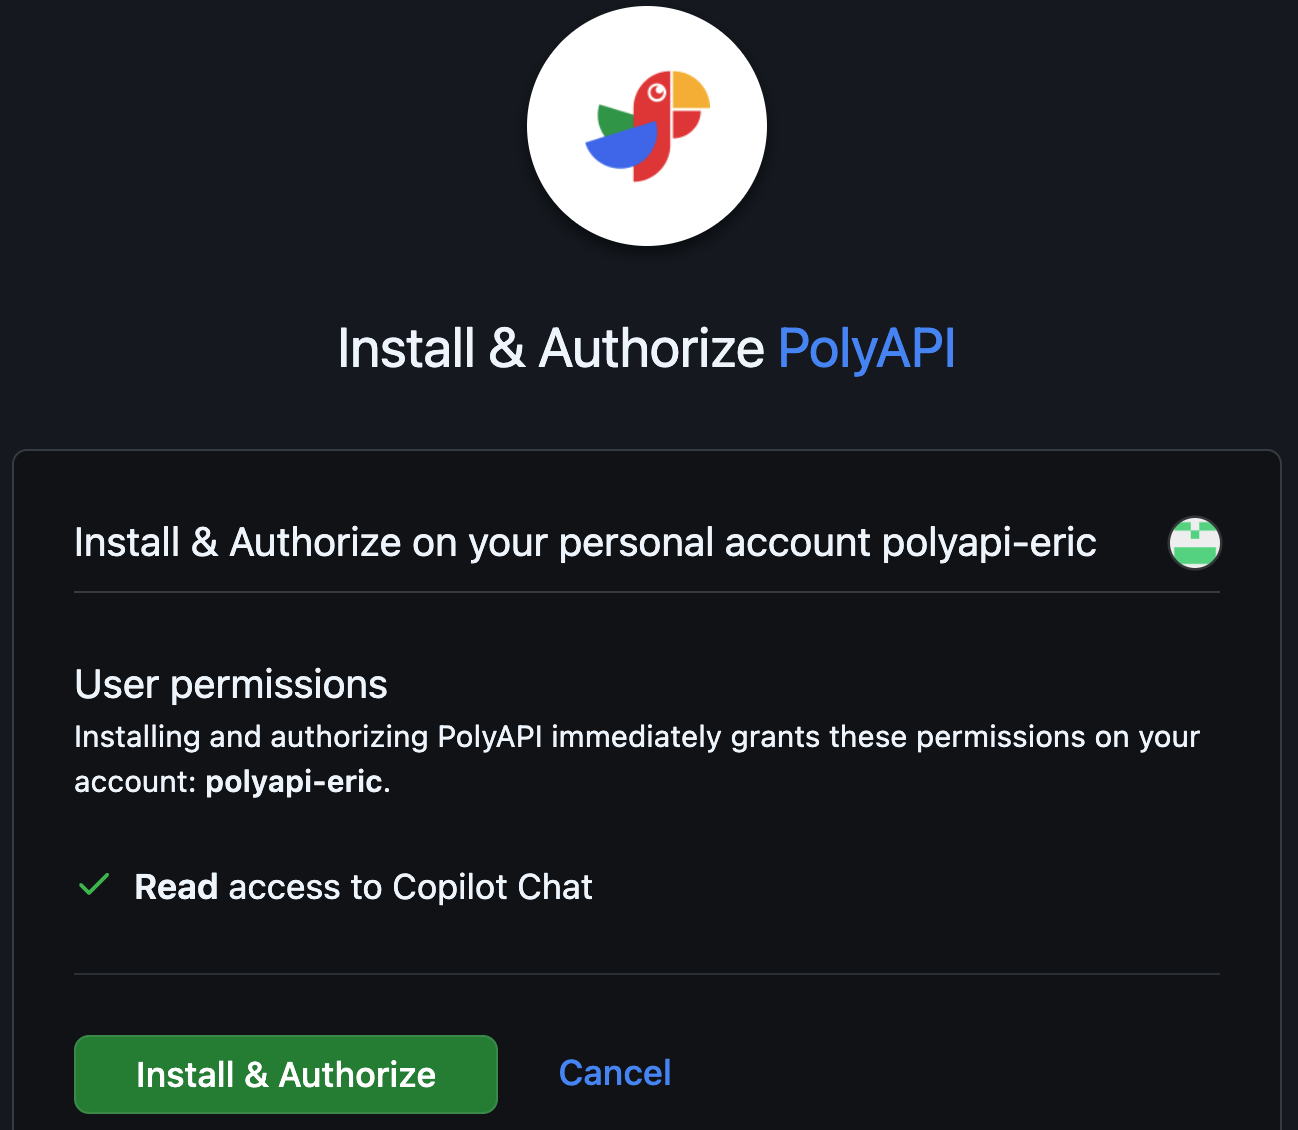
Click “Install & Authorize”.
After installing, you will be redirected to the PolyAPI platform login page. If you already have a valid PolyAPI key, then you can jump to step 6, otherwise click “Sign up here” below the login button to signup and get a new API key.
To sign up for a PolyAPI account, please refer to the first section of our Quickstart guide.
Grab one of your existing PolyAPI keys or copy your new API key and keep it handy. You will need it later to authenticate the extension to your tenant environment of choice.
VSCode Setup
OK now let’s jump over to VSCode.
Open VSCode.
Go to Extensions (on mac Shift+cmd+X).
Search for
copilotSelect
GitHub Copilot ChatClick
Install
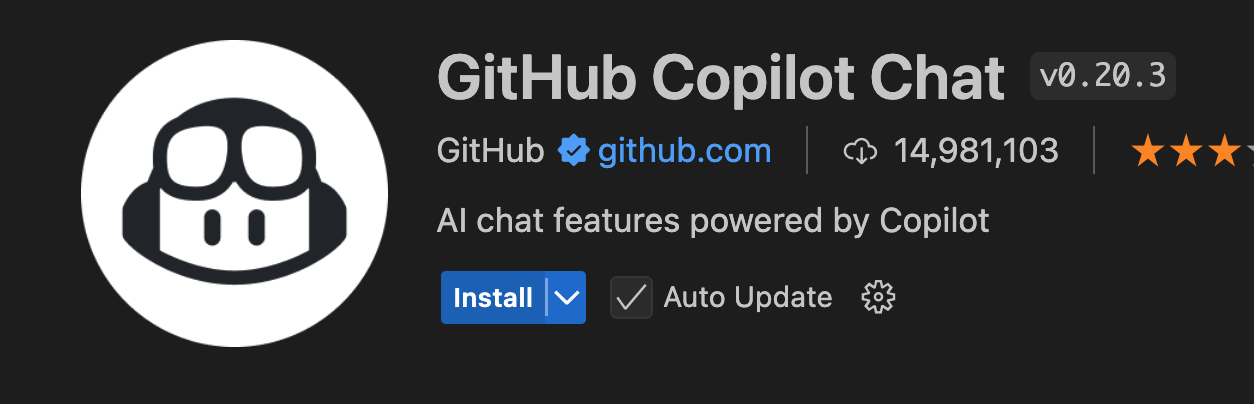
May require VSCode restart.
Conclusion
That’s it! You’re all set up to use the PolyAPI Copilot Extension in VSCode!
Let’s take a look at Using the Copilot Extension.