Create a Canopy UI Application
Canopy is a powerful framework within PolyAPI that allows you to build custom, auto-generated UI applications backed by API-driven configurations and functions. Whether you’re creating an internal dashboard, a partner portal, or a support tool, Canopy provides the flexibility to design a structured, interactive experience—without the need for extensive front-end development.
If you haven’t explored a Canopy application yet, be sure to checkout Canopy Architecture and Configurations along with Using a Canopy Application!
🔥 Ready to launch? Let’s get started! Head over to your PolyAPI instance and access Poly’s Canopy application:
/canopy/polyui/login
For example, on na1, the path would be:
https://na1.polyapi.io/canopy/polyui/login
Log in using your API key.
Note
Ensure you have the necessary permissions “Use Applications” and “Manage Applications.
Contact your tenant admin or support@polyapi.io for permissions assistance.
Create Application
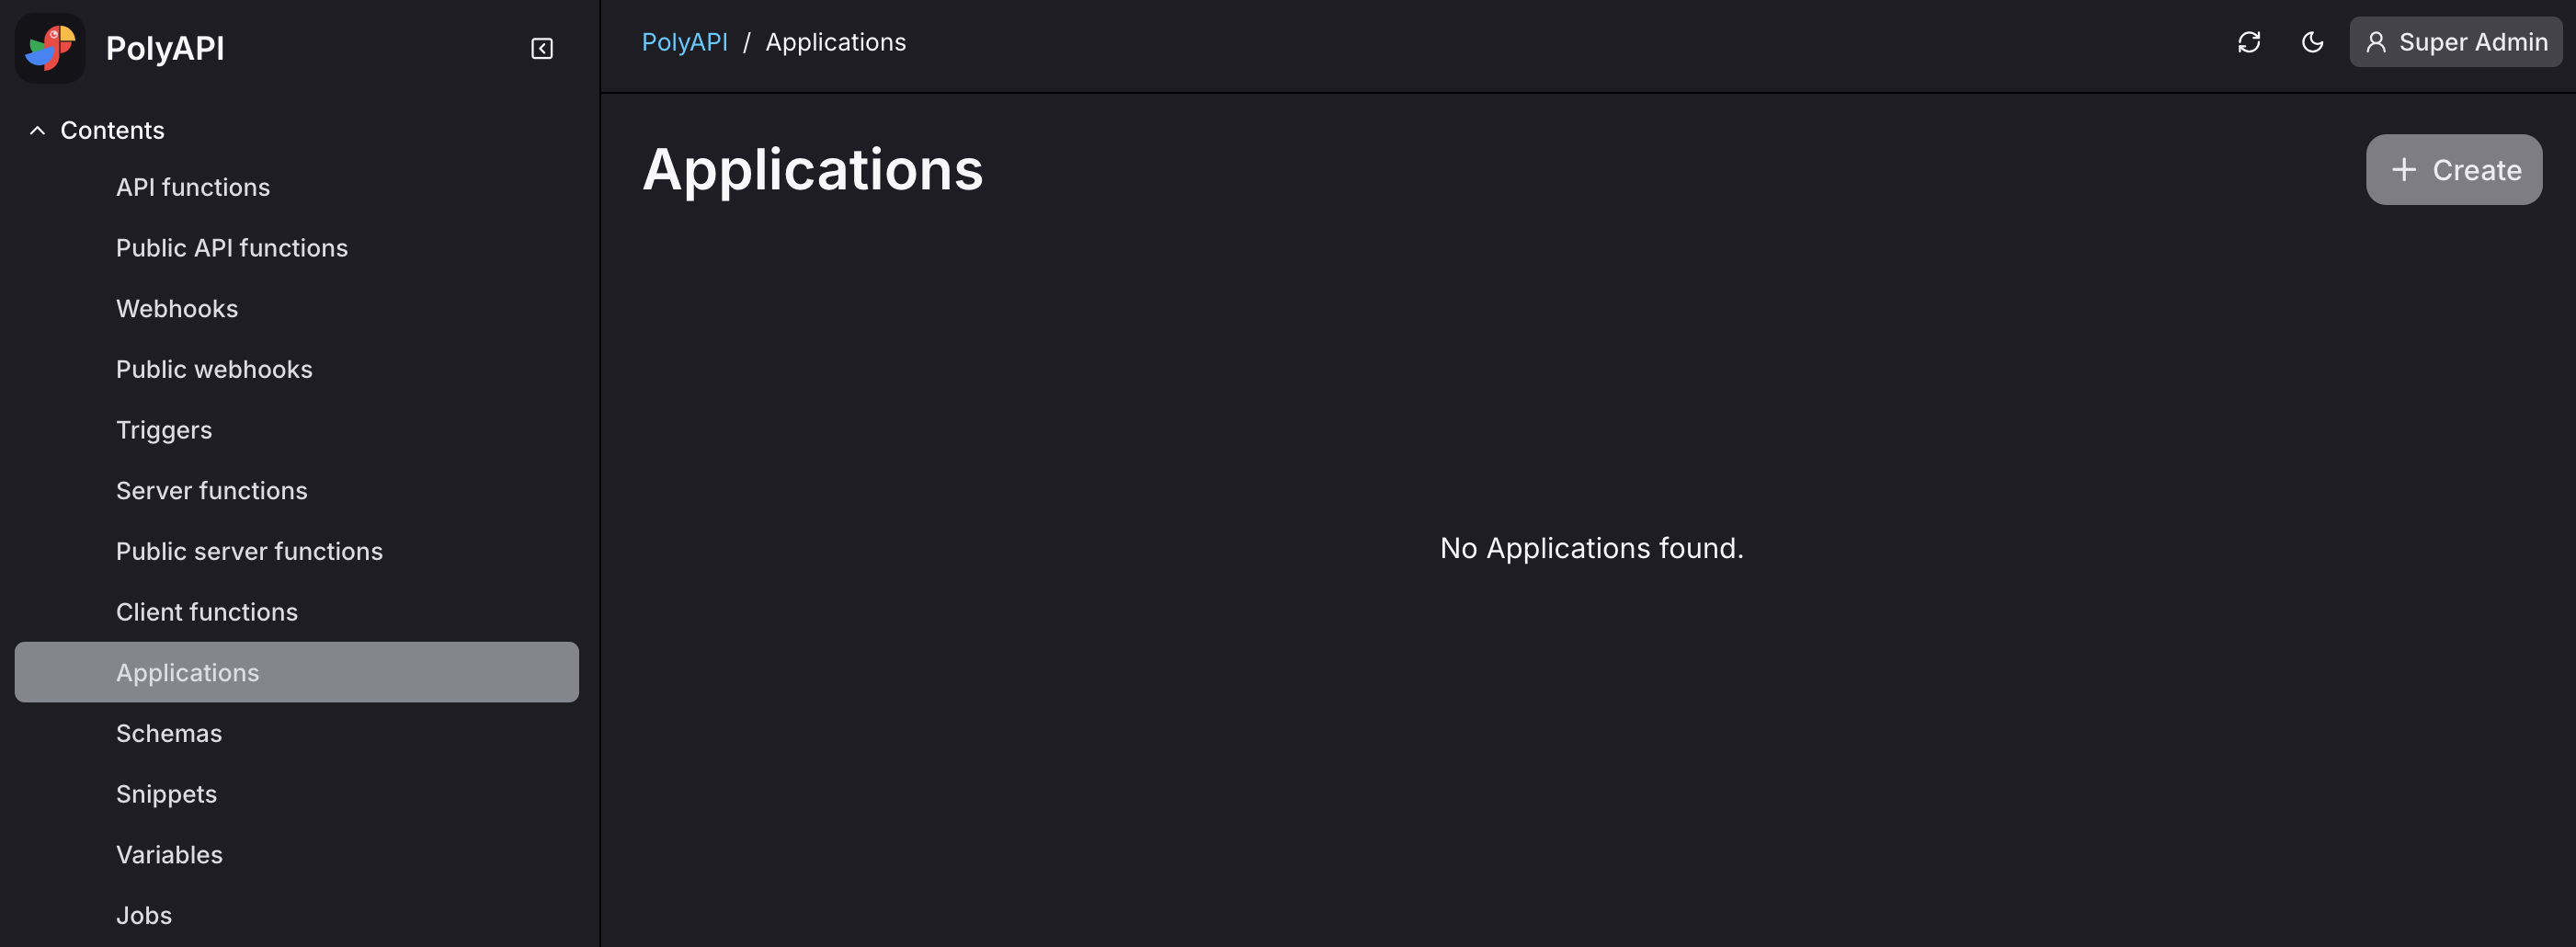
Select Applications from the left sidebar and click + Create.
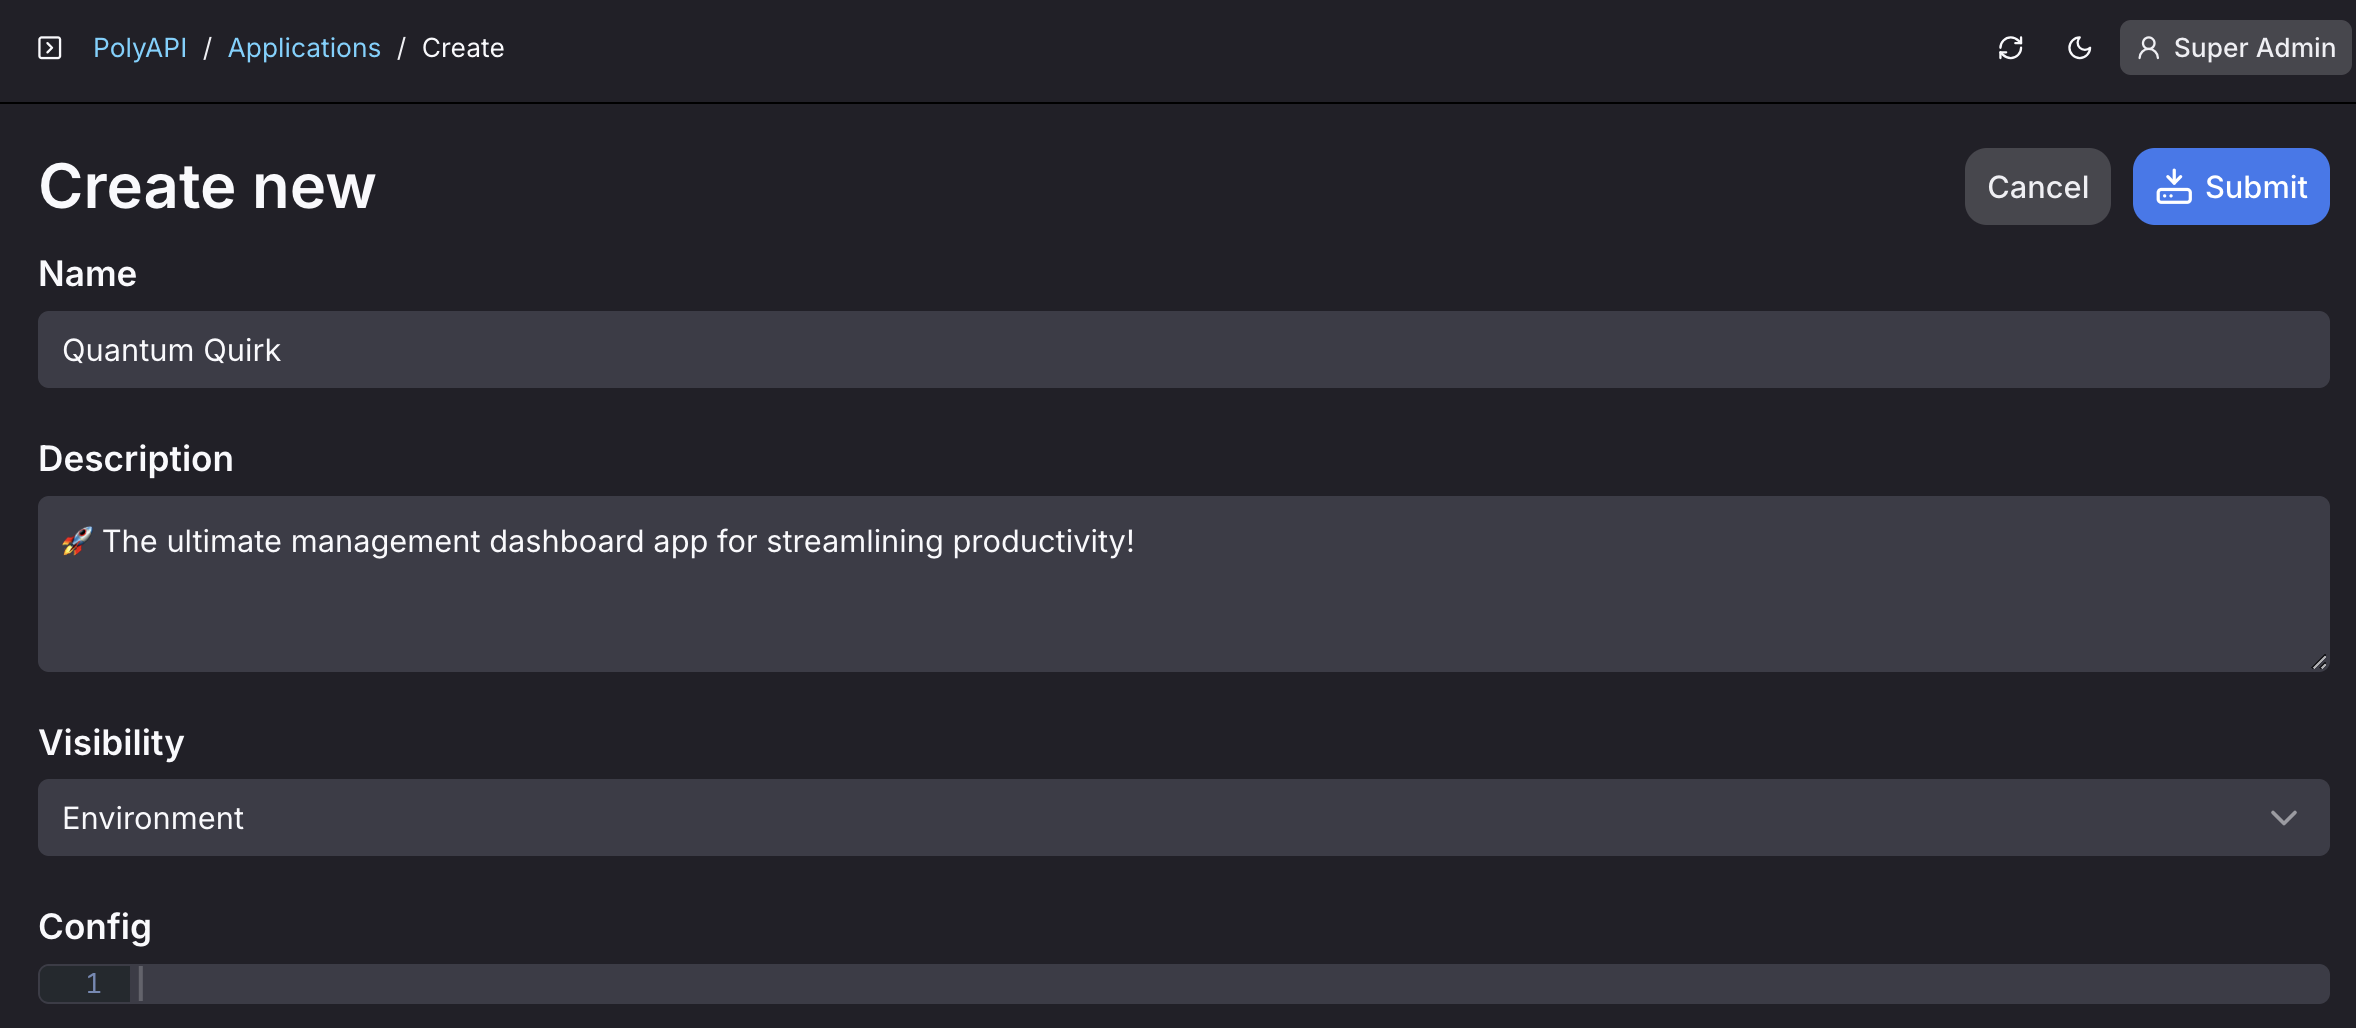
Fill in the following fields:
Name: The name of your application, e.g., Quantum Quirk.
Description: Optional, description of your application, e.g., The ultimate management dashboard app for streamlining productivity.
- Visibility: Select appropriate visibility level for your application.
Public - Visible to all tenants, modifiable only by authorized API keys.
Tenant - Shared across tenant environments, restricted to tenant API keys.
Environment - Isolated to a single environment, accessible only within it.
Config: JSON configuration for your application. Example to follow bellow.
JSON Configuration
The example JSON application configuration below defines a Canopy application named Quantum Quirk, a management dashboard designed to streamline productivity. It specifies key application settings, login customization, and a structured data collection.
Key Components
Application Metadata:
name: Defines the app’s name as Quantum Quirk.
subpath: Specifies the app’s dashboard route as /quantum-quirk-dashboard.
icon & logoSrc: Provide URLs for branding assets.
login: Customizes the login page title and logo.
Collections & Data Model:
Defines a Tasks Collection, representing structured task management.
- In this example, each task has key properties:
Title & Description (text, multiline) – Store task details.
Status & Priority (enum) – Restrict values to predefined categories.
Due Date (text) – Stores a date as a string.
Assignee (text) – Assigns a user to a task.
This example base configuration will get you started!
{
  "name": "Quantum Quirk",
  "subpath": "quantum-quirk-dashboard",
  "icon": "https://polyapi-public.s3.us-west-2.amazonaws.com/clients/quantum-quirk/quantum-quirk.svg",
  "logoSrc": "https://polyapi-public.s3.us-west-2.amazonaws.com/clients/quantum-quirk/quantum-quirk.svg",
  "login": {
    "title": "Login To Quantum Quirk Dashboard",
    "logoSrc": "https://polyapi-public.s3.us-west-2.amazonaws.com/clients/quantum-quirk/quantum-quirk.png"
  },
  "collections": [
    {
      "id": "tasks",
      "name": "Tasks",
      "group": "Dashboard",
      "properties": {
        "id": {
          "label": "ID"
        },
        "title": {
          "label": "Title",
          "type": "text"
        },
        "description": {
          "label": "Description",
          "type": "multiline"
        },
        "status": {
          "label": "Status",
          "type": "enum",
          "values": [
            {
              "name": "To Do",
              "value": "TODO"
            },
            {
              "name": "In Progress",
              "value": "IN_PROGRESS"
            },
            {
              "name": "Completed",
              "value": "COMPLETED"
            }
          ]
        },
        "priority": {
          "label": "Priority",
          "type": "enum",
          "values": [
            {
              "name": "Low",
              "value": "LOW"
            },
            {
              "name": "Medium",
              "value": "MEDIUM"
            },
            {
              "name": "High",
              "value": "HIGH"
            }
          ]
        },
        "due_date": {
          "label": "Due Date",
          "type": "text"
        },
        "assignee": {
          "label": "Assignee",
          "type": "text"
        }
      }
    }
  ]
}
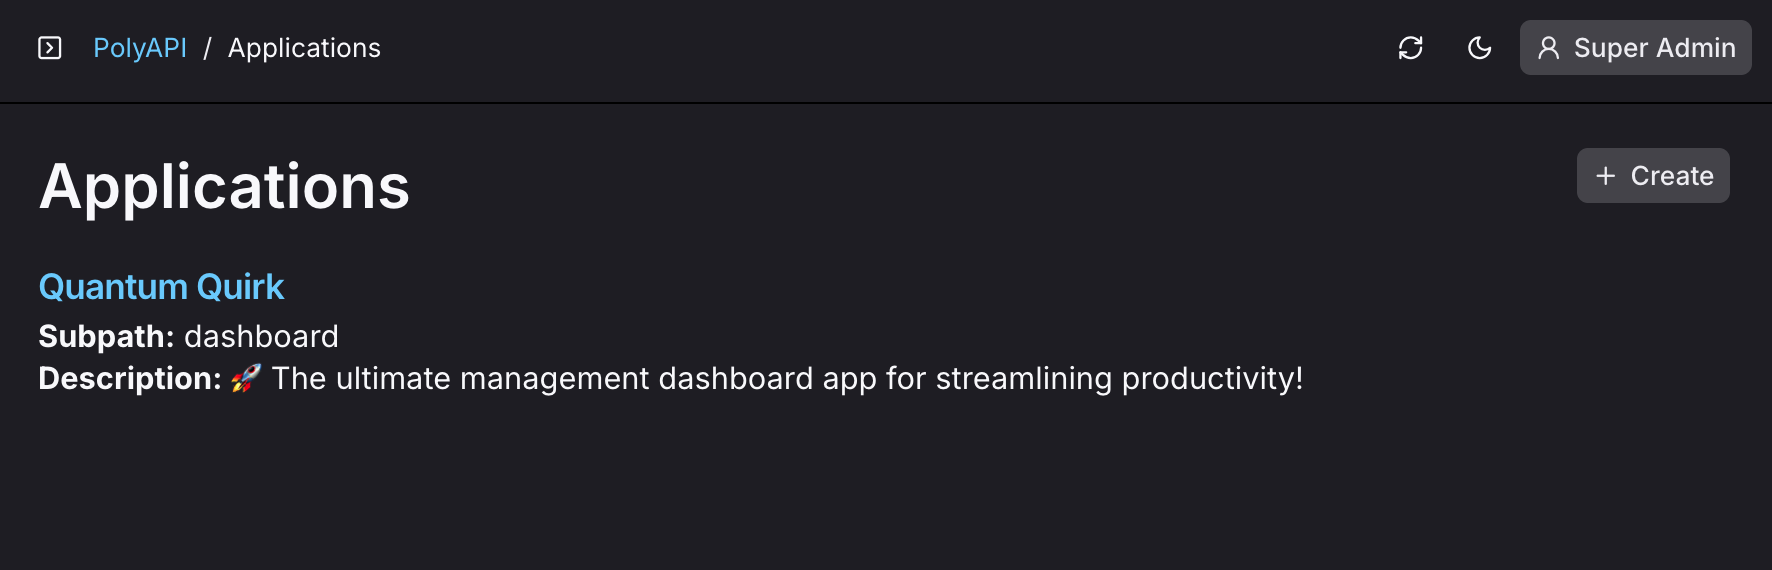
Click the “Submit” button to create your Canopy application.
Your application should now be visible in the list view of PolyUI’s applications.
Conclusion
You’ve just created your first Canopy application on PolyAPI. 👏
However, at this point your application is not going to do anything until we wire up some functionality. Hop on over to Implementing CRUD Operations in Canopy Applications to really bring your application to life! ✨